
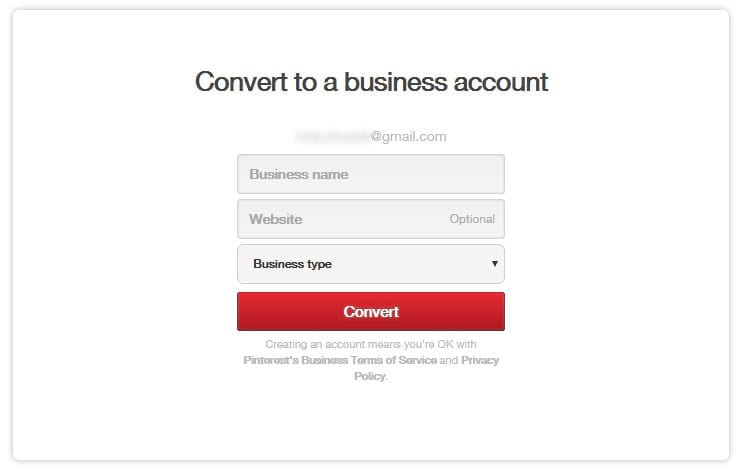
1. Sign up for a business account on Pinterest
Nearly every single Pinterest guide started with this tip.
Turned out, Personal and Business accounts had different terms of service. Commercial use of Pinterest is only allowed for Business account. Plus Rich pins, promoted pins, and access to Pinterest Analytics are only available for Business accounts.
Also, there were Buyable pins, but those only apply for BigCommerce, Demandware and Shopify platforms.
Converting to business account or creating a new one is totally free.
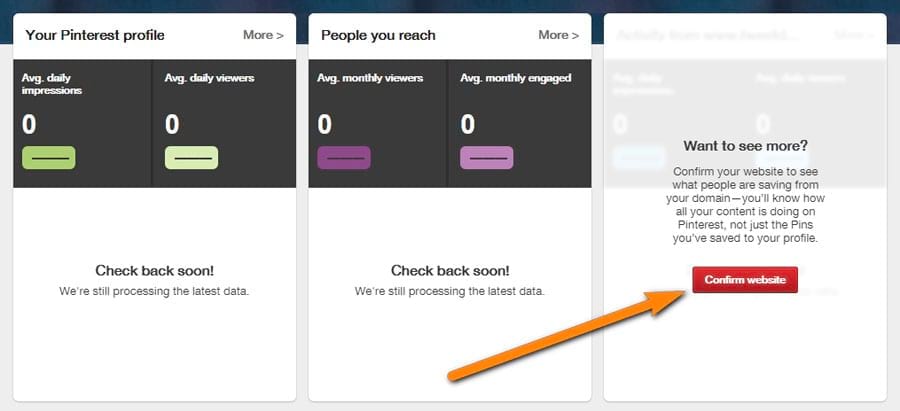
Confirm your website
Next you have to confirm your website, so that you can see who is visiting it from Pinterest.
Get a “Save” button for your website (skipped)
The default final step in setting a Pinterest business account is to add a “Save” button to your website.
This can easily be arranged with Pinterest Widget Builder.
However, for the sake of the experiment integrity, I skipped this step.
You see, we were not going to push our existing audience to Pinterest and back. We aimed for the brand new visitors from Pinterest, resulting from our Pinterest marketing efforts.
Besides, Pinterest power users do not need a “Pin” button on a blog, as they’re using browser extensions and tools like Buffer to pin even the unpinnable.
2. Set up relevant boards with keywords in mind and fill them with cool pins
The next thing learnt from Pinterest guides was that you have to optimize your account for Pinterest search.
They say that Pinterest search is quite dumb not as smart as Google, so you can do some careful keyword stuffing.
Keywords can be used in the names of your boards, in boards descriptions, in pin descriptions and even inside your Business Name.
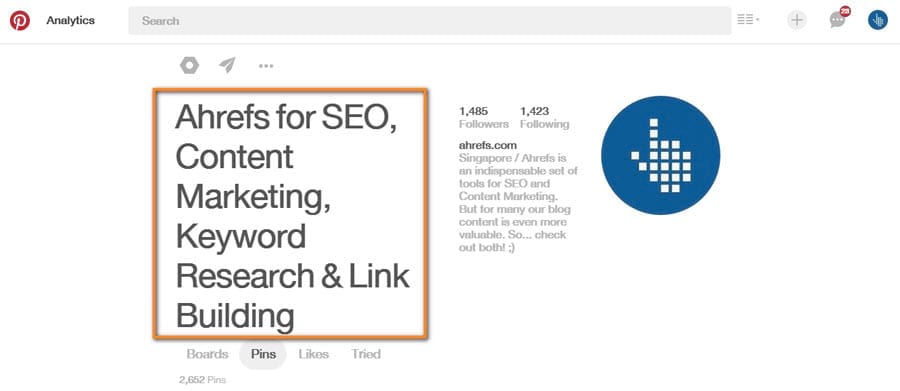
Our target audience included SEO experts and professional link builders, content marketers, and, you know, all kinds of marketers and bloggers. So I sat back and wrote a list of keywords that could help us.
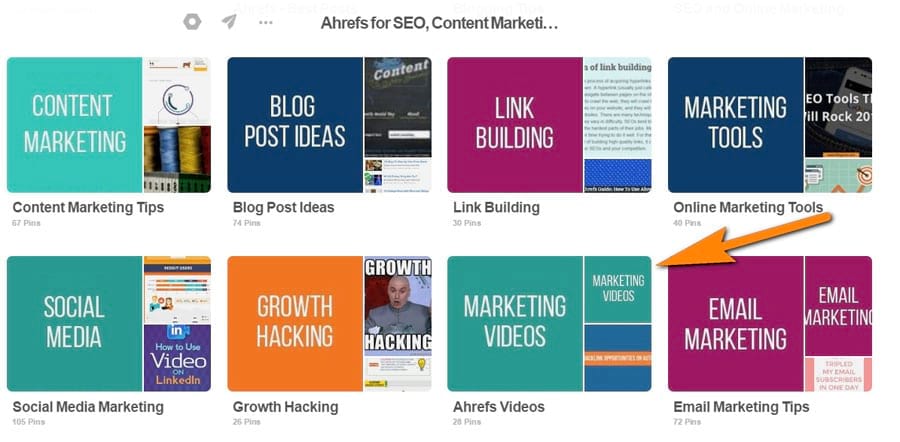
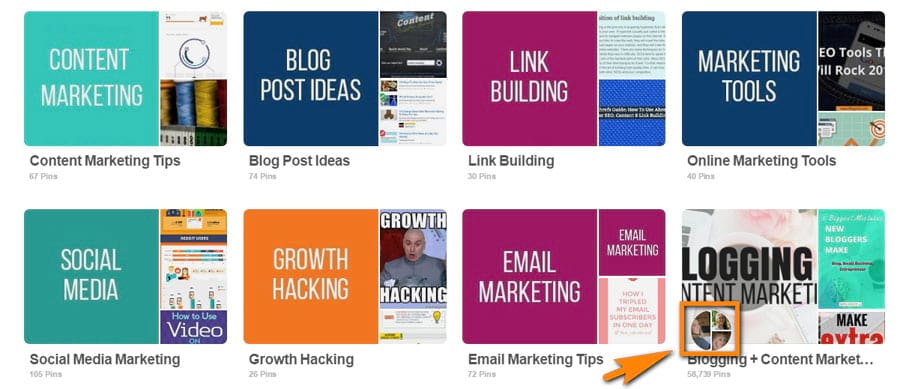
In general, 20 boards have been added and filled with 30 to 150 awesome relevant pins from various resources.
That’s what the Pinterest guides taught me. And it seemed quite reasoned. That way we let Pinterest know our account is all about online marketing and blogging, and hoped to be found on Pinterest search.
Every board got its keyword-based description.
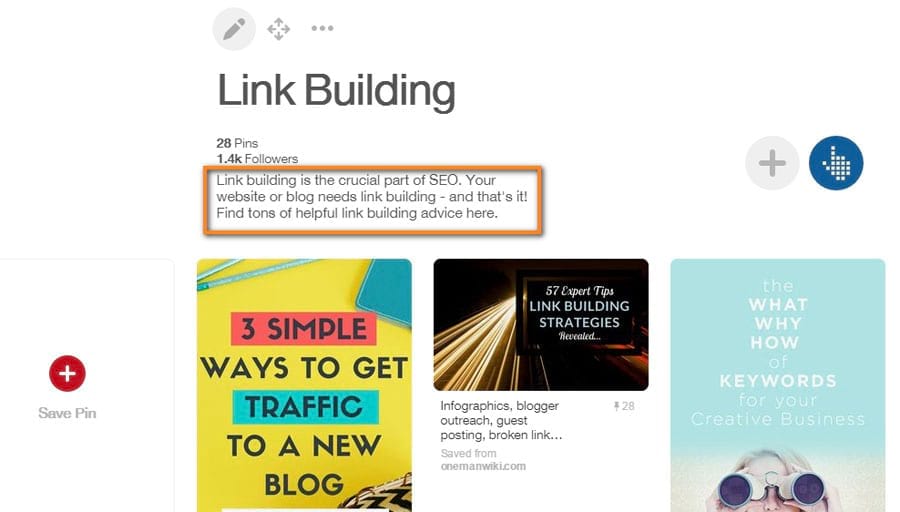
I wanted them to be more or less natural so I did almost no keyword stuffing there.
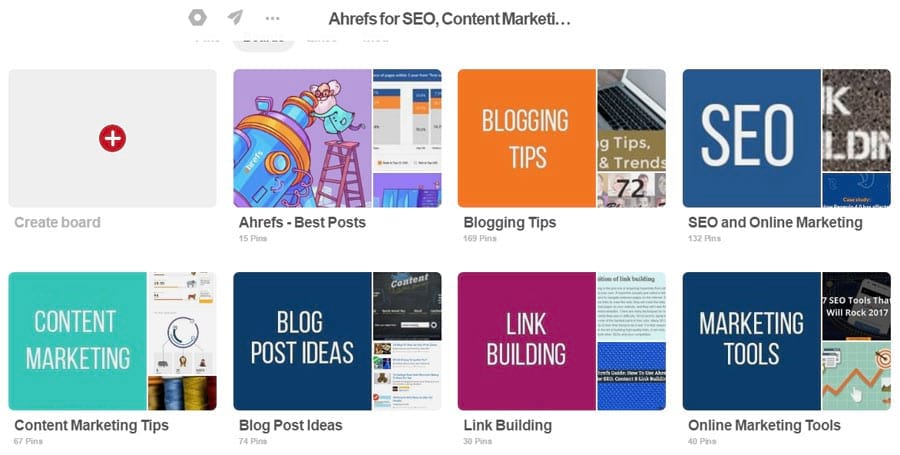
Flourish your boards with cover images
Seeking for some inspiration for the boards, I came across Blogelina’s Pinterest account where every board had its cover image. I really liked that idea and I decided to add the same.
And here I’ve got an experience-based tip for you:
As you add an image and make it a board cover, it will be added as the latest pin in the board as well. So the board preview is going to be like this:
Pinterest does not allow you to easily permutate your pins within your board. To do that you can move certain pins to another board and then back, to make them appear in top inside. But for some reason it did not work with a cover.
So just add a few NEW pins to the board after you add a board cover. That will do the trick.
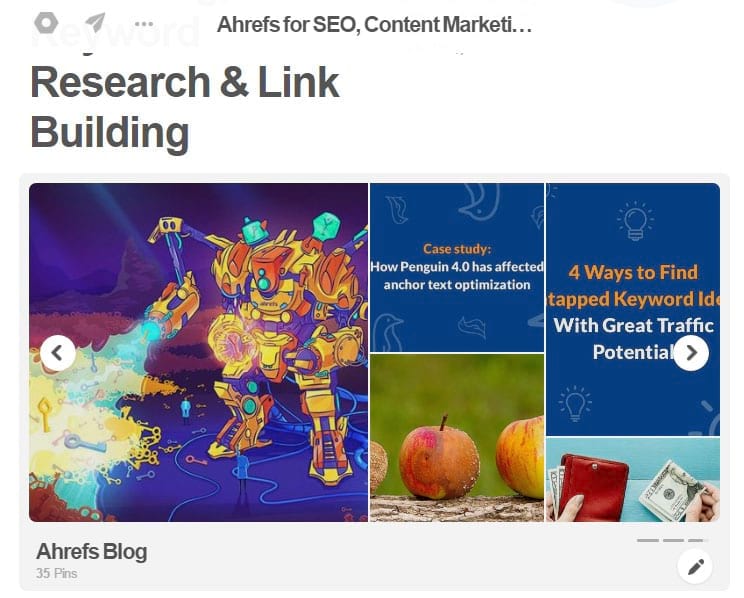
Show off in your Showcase
Not so long ago Showcase feature was added by Pinterest. That rotating showcase is the first thing people see as they visit your profile, as it sits right at the top. Besides, it looks great on mobile.
Sure thing, I could not leave the showcase blank and added our best boards there.
Yet there were more preparations to do.
3. Apply for Rich Pins for your website or blog
Another must-do for a seamless integration between your blog or website and your Pinterest account is to go for Rich Pins.
As I told you before, we did not add “Pin” button on our blog. But our readers still pin our blog posts with browser extensions. So I had to make sure those pins would look as good as possible.
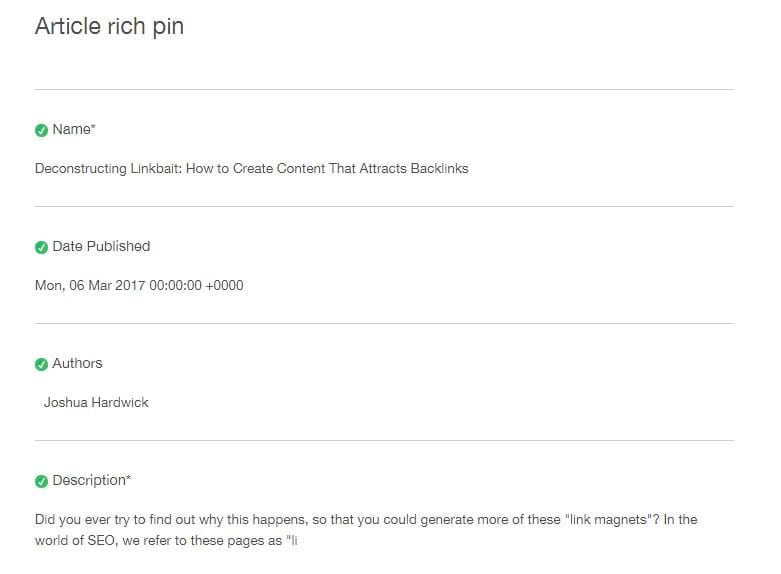
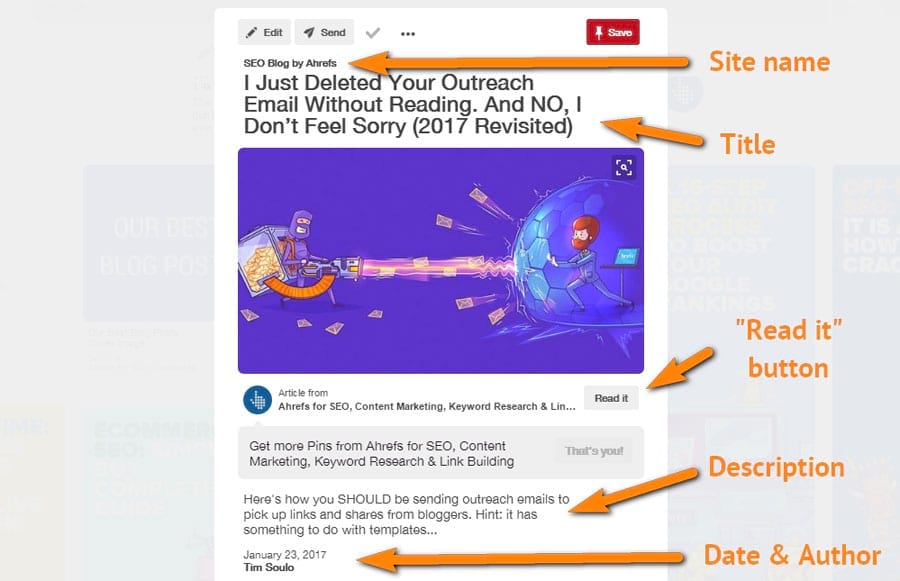
Rich Pins are special pins that include extra information right on the Pin itself. Today Pinterest has 6 types of Rich Pins: app, movie, recipe, article, product and place.
Naturally, article Rich Pins was our option.
Article Pins let users know that they’re clicking on a page with original content that tells a story. They include an article headline, author and story description.
With Rich Pins set up, Pinterest is able to pull all this data from your website via Open Graph and Schema.org formats for marking up.
I consulted on our developer and he said that Open Graph was better for us. So I asked him to make the following ‘meta properties’ to be added to every blog post automatically and he made it in just a few minutes.
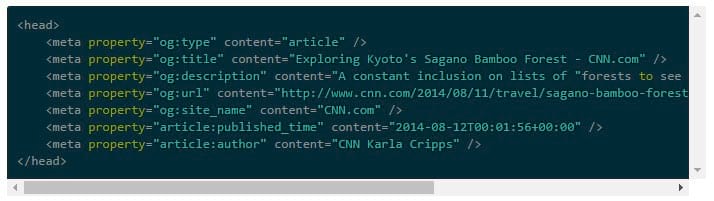
Our solution was a bit custom. Otherwise Yoast SEO plugin for WordPress would be just enough for that.
The last step was to make sure Rich Pins work just fine. Pinterest has a Rich Pins Validator, so you can easily verify your Rich Pins.
Perfect!
Now I had to implement another important item on my plan.
4. Grow your Pinterest following
Some case studies I read (this one for example) said that the number of followers on Pinterest does not directly affect the amount of traffic you will get. But to make your profile look established, Pinterest guides recommended getting at least one thousand followers.
The principle was simple. Follow other Pinterest accounts to get attention to yours. There were two options for that. We could either use some automated software to follow and unfollow other Pinterest accounts or do that manually.
Some guides recommended using a Pinterest automation tool to get more followers, like PinPinterest or PinFollow. Other authors strictly forbid automatic following/unfollowing, providing examples how they lost their accounts because of that.
I did not want to risk our Pinterest account, so I went for a manual way. Every day I spent an hour or so trying to grow our Pinterest followers count. Each day I followed around 300 accounts (and unfollowed approximately the same number to keep the balance). Not the most exciting activity, I must say…
…and this did not work. We only got 400 new followers by the end of my experiment.
But as I was reading about ways to get new Pinterest followers, I came across one nice tip. It will help you find people who pinned some content from your website, and thus interesting to connect with.
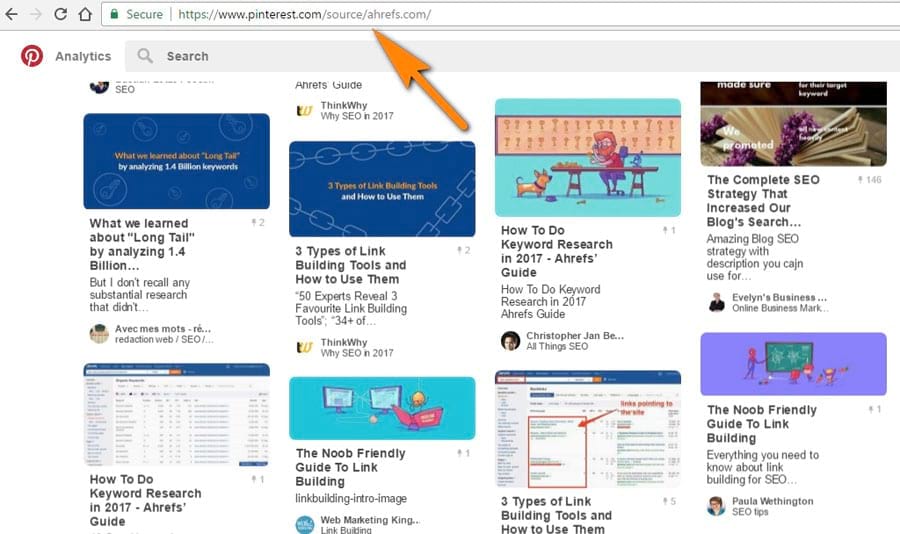
Find people who pinned stuff from your website
I found this tip in Aaron Lee’s post at Postplanner.
Put the following line into your browser and replace “YOURDOMAIN” at the end with your domain.
https://www.pinterest.com/source/YOURDOMAIN
There was another crucial item on my list.
5. Get to the relevant group boards
This tip was positioned as a gold mine of traffic in each and every Pinterest guide. Group boards were supposed to be the fastest way to gain reach on Pinterest.
In a nutshell, a group board is a Pinterest board where more than one person can pin. And the best part is that every pinner adds his or her own followers to the total number of board’s following. This results in a massive audience of a group board, making it extremely tempting to join.
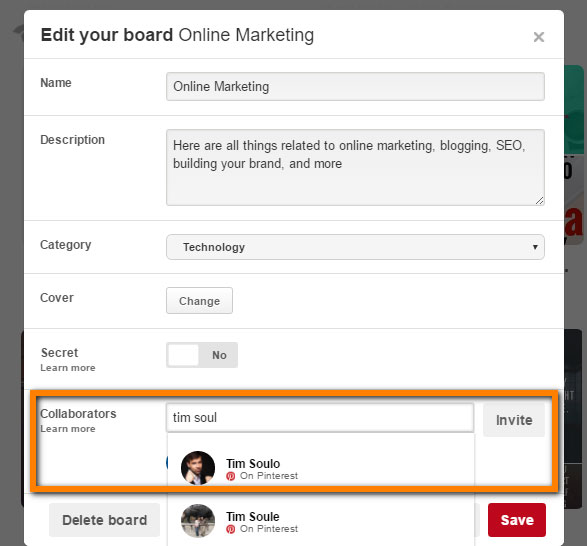
You can create your own group boards and invite people to contribute to it. Click “Edit” on any of your boards and add collaborators.
Each and every guide to getting traffic from Pinterest insisted on joining huge, established group boards and pin your stuff there (we’ll get to that).
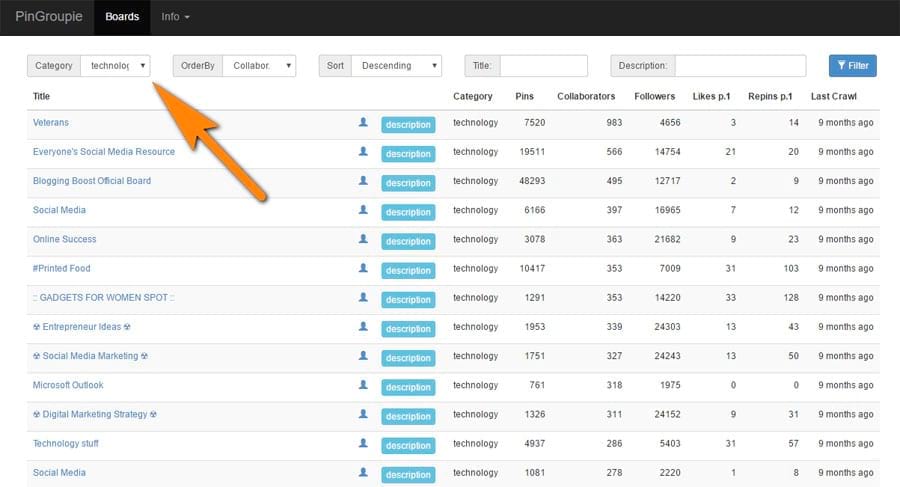
Naturally, you need to find those group boards first. Luckily, there are two services to help you with that: PinGroupie and group boards on BoardBooster.
Finding group boards is a pretty straightforward process. But choosing a right category might be challenging. For example online marketing boards are mostly categorized as “Technology,” “Geek” or “Other” by Pinterest users. Probably because all other categories suite even less.
Discovering an email address and asking to join a group board is a matter of your outreach skills.
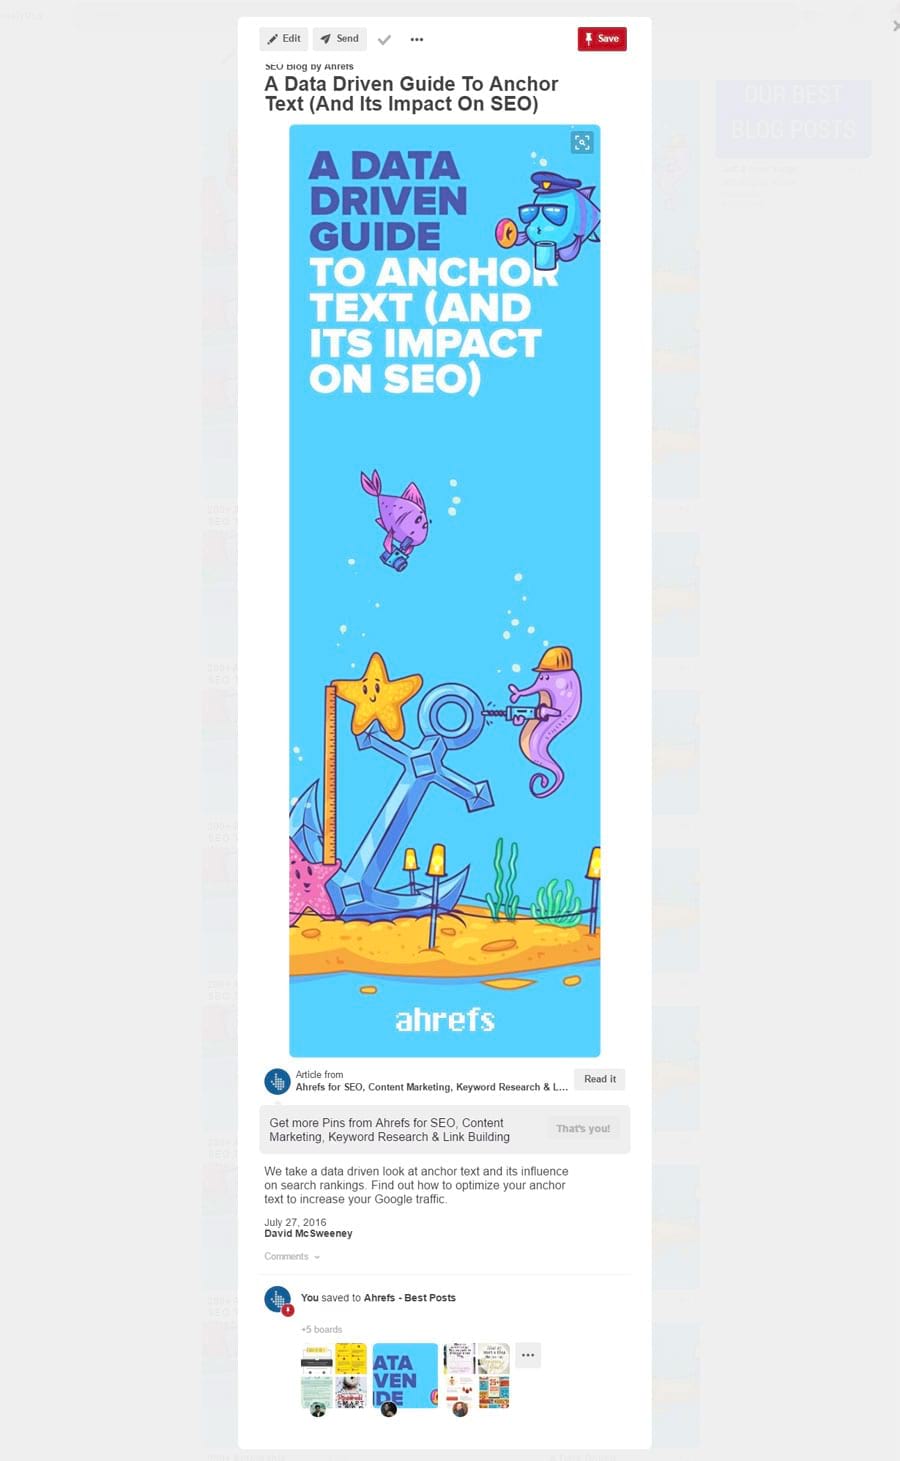
6. Use catchy, engaging images
Pinterest is all about visuals. Your pins need images that would stand out from thousands of other pins and draw people’s attention as a bloody magnet. That’s what I read in the guides. Actually, that made sense.
If you haven’t noticed yet, we’ve got a really custom approach to the images in our blog post headers.
And our readers seem to love them! Or at least that’s what they tell us.
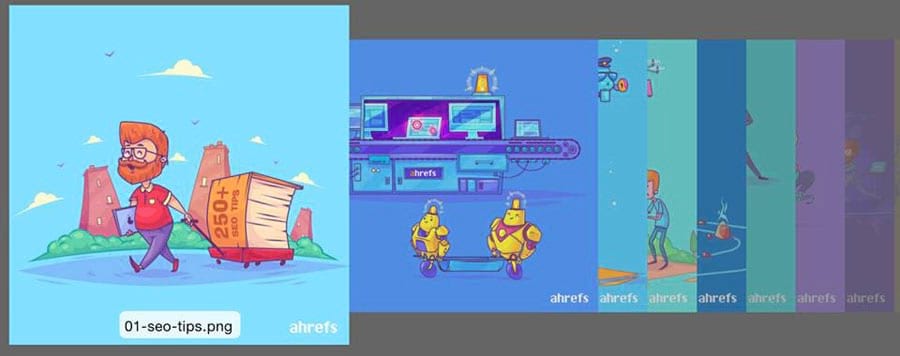
We decided not to reinvent a wheel, and went for what already worked great. We asked our designer to adapt the images created for our best blog posts for Pinterest so that we could use them when pinning.
Here’s one example:
If you ask me, that looked great! Besides, this image was meant to stand out from countless boring pins, consisting of a free stock background image and some text added in Canva.
Finally it was time to pin!
7. Pin consistently. Pin a lot
Every single Pinterest guide I read told me I should pin regularly and pin a lot. But almost nobody took it upon oneself to say how many pins should appear each day.
- Gael Breton in the comments to Jim Dillon’s Pinterest marketing tips recommended pinning to every group board twice a day.
- Kevan Lee in his Pinterest tips study, based on Buffer’s experience, said they pinned 5 to 10 times a day.
- And Courtney Seiter claims that up to 30 pins per day work well.
I started with 7 pins per day but quickly accelerated to 30–35.
This time I used the best known Pinterest automation tool, Tailwind.
Pin it all with Tailwind
I don’t praise marketing tools often, but Tailwind is really good. For just $15 per month (or $9.99 if billed annually) you get access to an instrument that will schedule your pinning and analyse your board performance on Pinterest.
As you connect your Pinterest account to Tailwind, you can manage your pinning schedule.
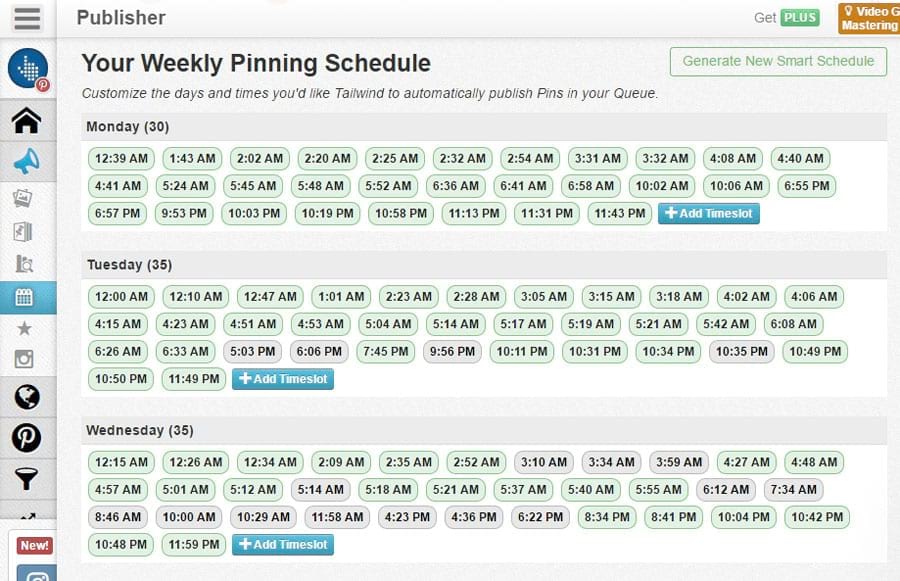
An awesome part of Tailwind is its ability to analyze your pins performance and suggest you the most optimal times to pin.
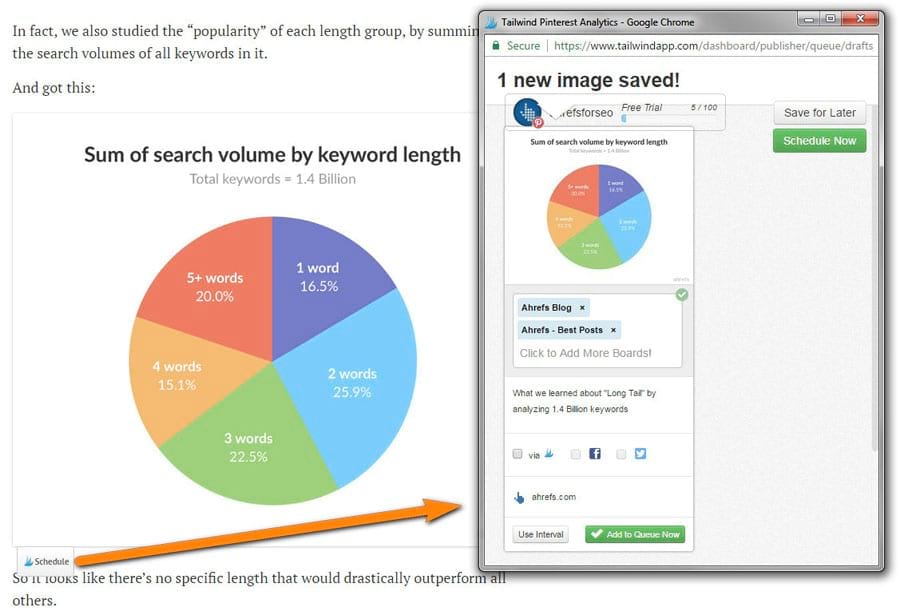
To use Tailwind at its full, you will need Tailwind Publisher extension for Chrome or Firefox. It makes the process of scheduling pins easy as a pie.
I won’t talk about this undoubtedly great app for too long. There are more than enough Tailwind guides. Take this one for example.
But one thing I absolutely loved about Tailwind was “Shuffle Queue” button. It’s really helpful. You don’t have to spend time moving pins in your schedule so that your pinning sequence looks natural. Just schedule a pile of pins to the relevant boards boards and shuffle them.
I used Tailwind for 1 month. During this month Tailwind and I published approximately 900 pins. That does not mean these were 900 unique pins. Of course not. I scheduled one pin to all the relevant group boards. That’s where “Shuffle Queue” feature came in handy.
8. Show your best pins to the top Pinterest users in your niche
This tip was not widely covered across many Pinterest guides.
I was not going to ask to share our pins or something. All I asked for in my outreach was to check out our board with the best pins and give us some honest feedback.
The main thing I learnt was that people on Pinterest were really nice and friendly. I had a lot of pleasant conversations and got a bunch of compliments about the style of our pins. Besides, I earned some saves for our best pins.
That outreach also gave me a few important takeaways about Pinterest marketing in general and brought up some amazing examples of Pinterest success. I’ll share them with you further on.