
In the previous installments in my series on Magento 2 security, I have discussed integrating 2FA and reCAPTCHA based security for Magento 2 stores. In this installment, I will continue with installing and enabling Magento 2 SSL certificates.
There are many factors that count when it comes to running a successful ecommerce store that should be considered in the early stages of a business. One of them is to provide your users a secure platform where they do not have to worry about their privacy. Using SSL certificates to protect your online store has become a standard procedure in the online business sphere.
What is SSL?
SSL- Secure Socket Layer certificate is used to secure a website as it establishes an encrypted link between the web server and a browser. The biggest advantage of SSL is that the data between encrypted link always remains private. In simple words, adding SSL Certificate to the store means that you are protecting the user’s private information such as login credentials, credit card information, and other sensitive data.
Add Magento SSL Certificate
Magento is one of the most powerful and customizable ecommerce platforms. In order to add Magento SSL Certificate, you will need to first buy it. Some hosting providers also offer it for free. For instance, the Let’s Encrypt SSL Certificate is FREE. I have seen a lot queries on how to install SSL in Magento. So today, I will show you how to add Magento SSL Certificate in this guide.
Losing Customers Because Of Payment Security Of Your Ecommerce Store?
Enable the Free SSL for Your Magento store on One-Click
Install Magento 2 SSL Certificate
I will show you the method to install Magento SSL on shared as well as on managed hosting servers.
Shared Hosting
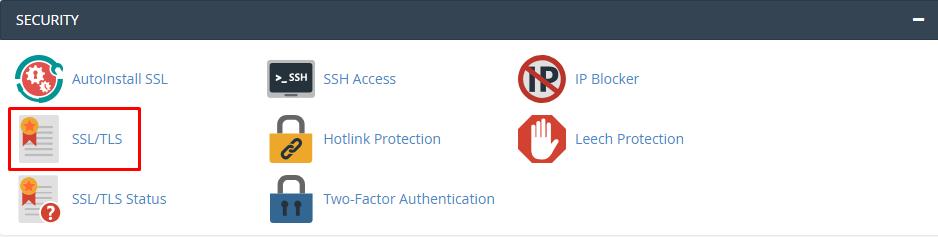
For shared hosting, go to the cPanel and click on SSL/TLS under Security section:
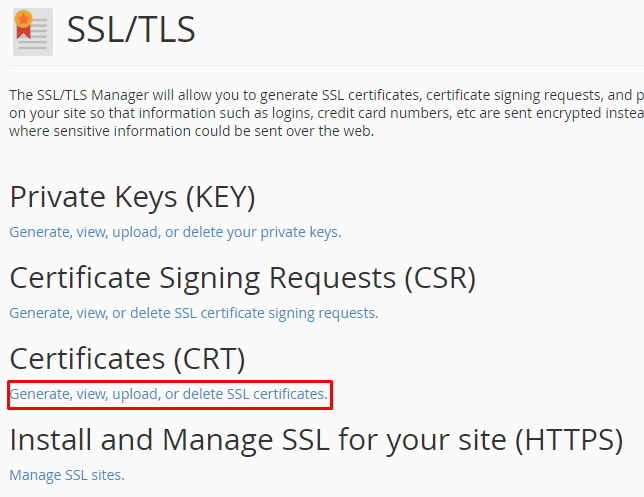
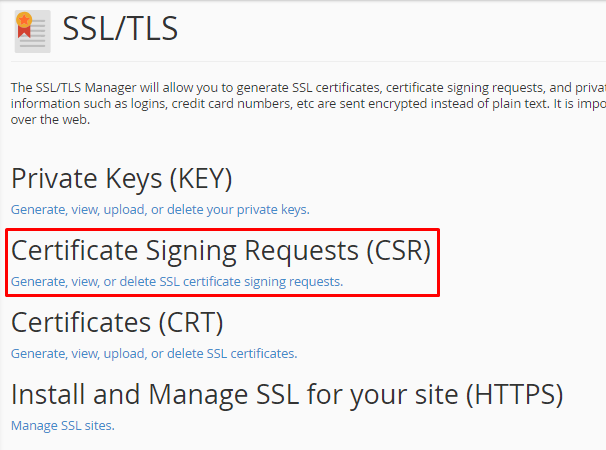
This will redirect you to the SSL/TLS page. You must click on Generate, view, upload or delete SSL certificates:
You will see the Let’s Encrypt SSL already installed under Certificates on Server list. However, if not, then you can contact their customer service and they will install it. When Let’s Encrypt is enabled, the process of renewing SSL certificates is done automatically. According to their process, the Let’s Encrypt SSL will renew every 90 days.
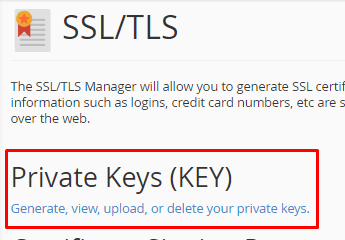
Now to add your own purchased SSL certificate you need to follow some steps. First go back to SSL/TLS page and click on Private Keys:
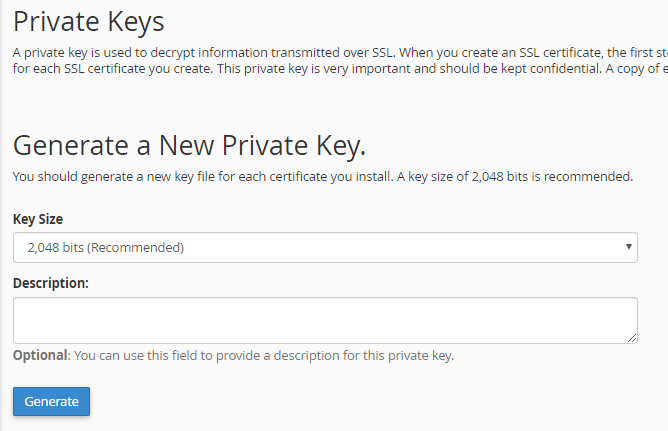
Here generate a private key for SSL certificate:
Now go to Certificate Signing Requests (CSR):
Here you have to enter details to create a CSR file which you have to submit to the SSL Provider. In return, you will get yourdomain.crt (Certificate Code) and yourdomain.ca (Chain File).
Now go to Certificates(CRT):
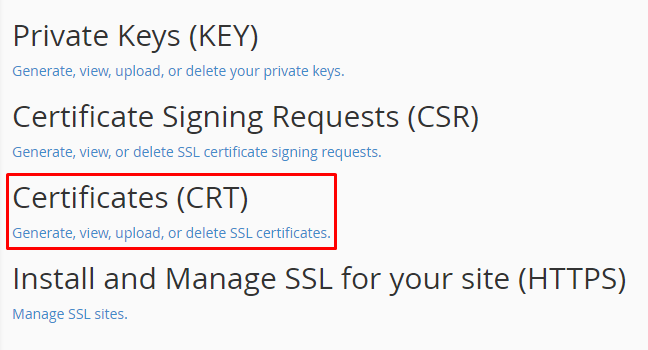
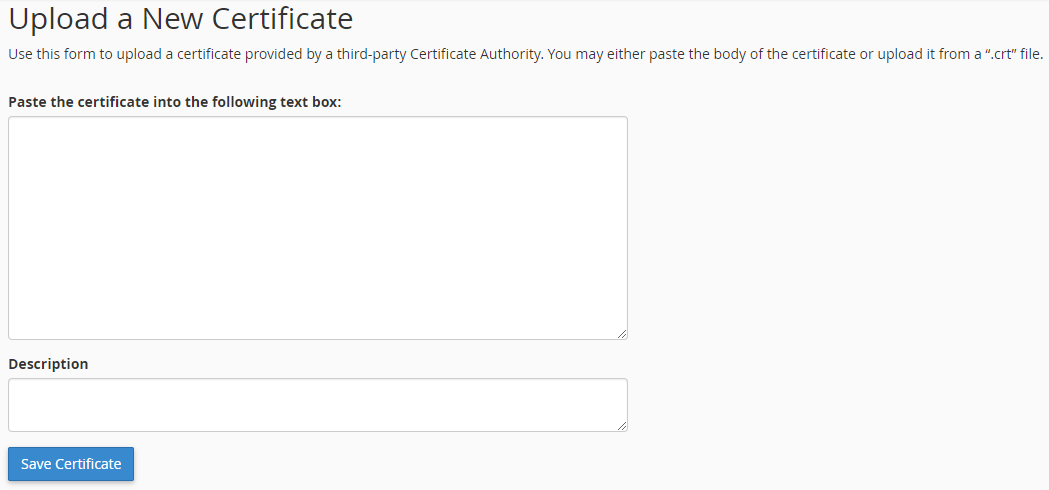
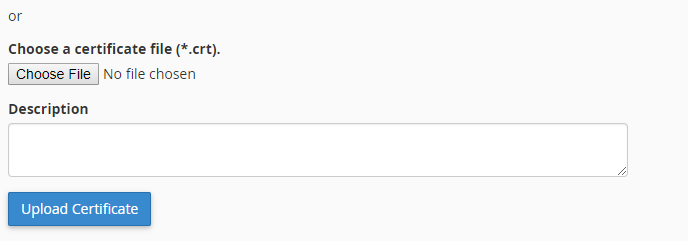
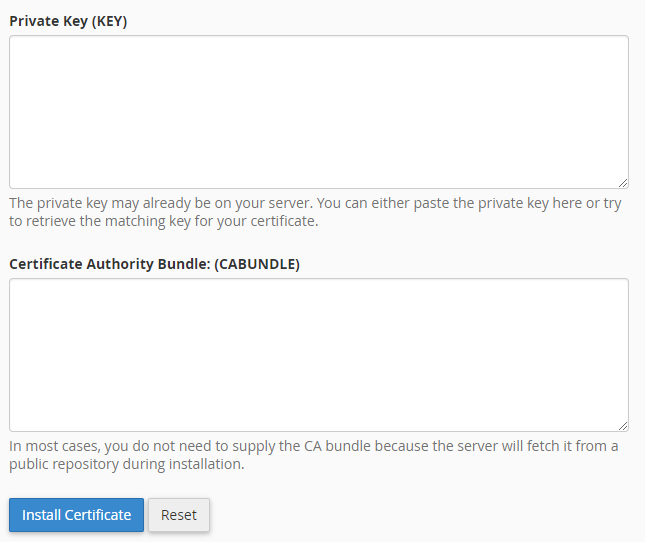
Here you have to upload the certificate, paste the body of the certificate or just upload the .crt file which you have received from your SSL provider:
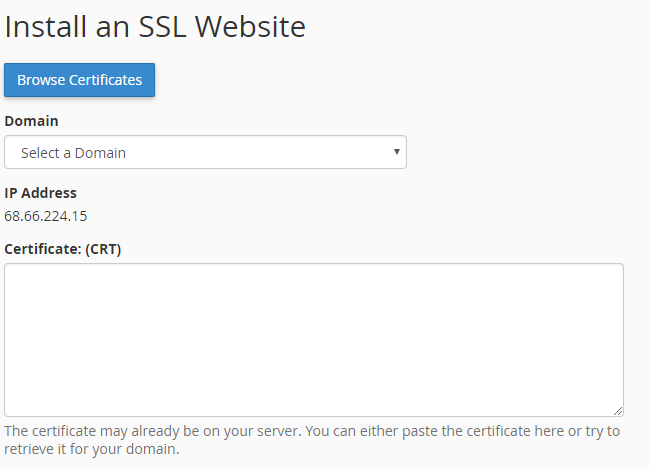
Now, at last, go to Install and Manage SSL for your sIte:

Select the domain and you will have the option to autofill the required details or you can also add them manually which you got from the SSL provider:
You can use the same method to install SSL certificate to any of your shared hosting service.
Managed Hosting
For managed hosting, I have used the server of Cloudways. Go to their admin panel and then go to applications:
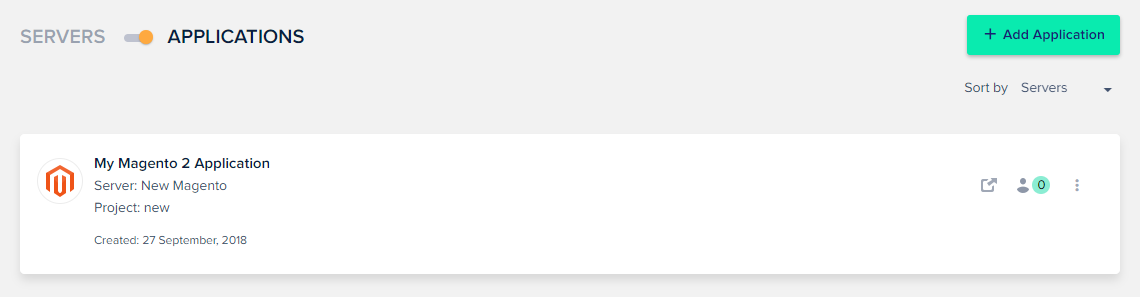
Click on the application for which you want to install SSL. You will be redirected to its management. Then go to SSL Certificate.
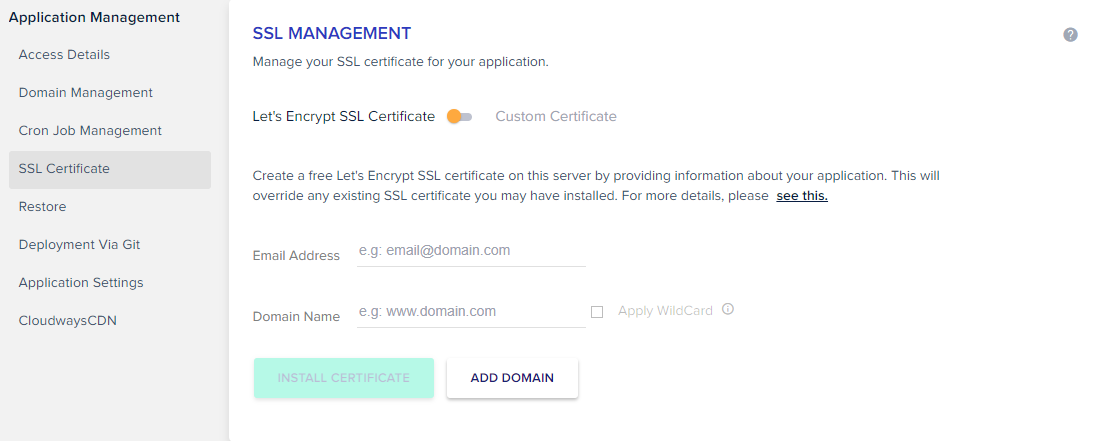
You have the option to install Let’s Encrypt SSL and also you can add the custom certificate like comodo positivessl as well. First, let’s understand the method for Let’s Encrypt.
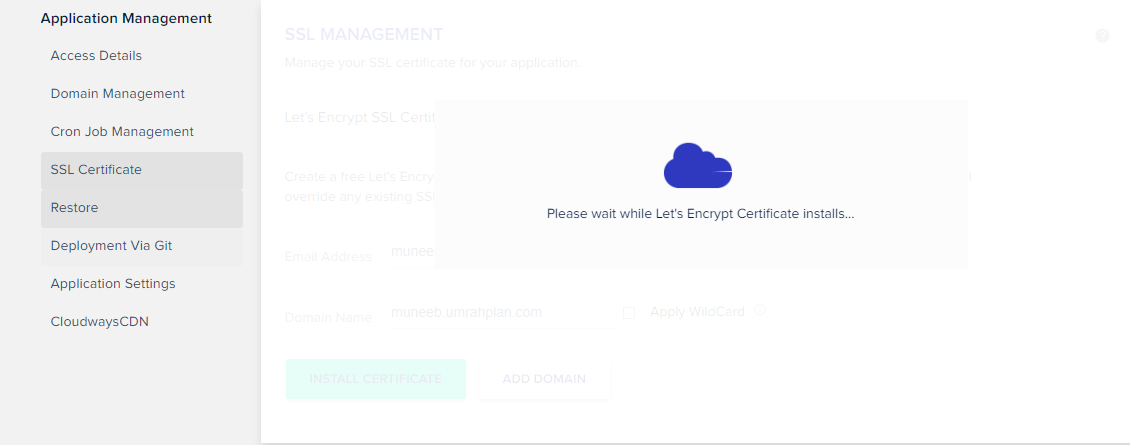
Enter the email address and domain name, click on Install Certificate and the installation process will start:
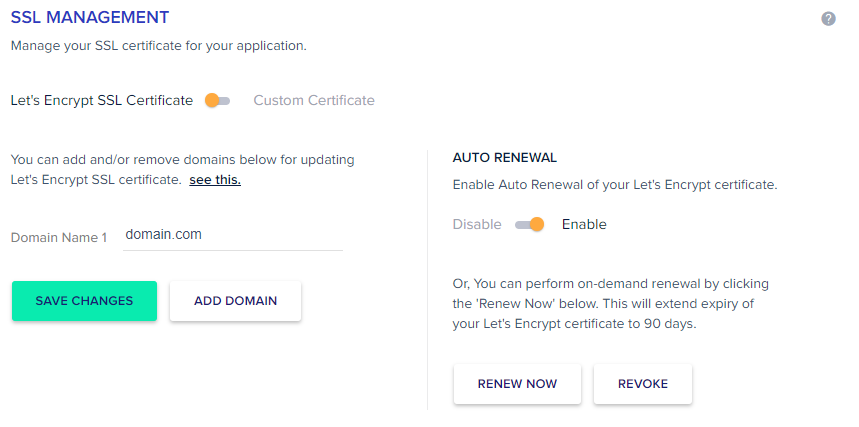
After the completion of the installation process, the Let’s Encrypt SSL will be installed. On the left side, you will see the AUTO RENEWAL option. You can set it to auto or you can also do it manually by clicking on RENEW NOW:
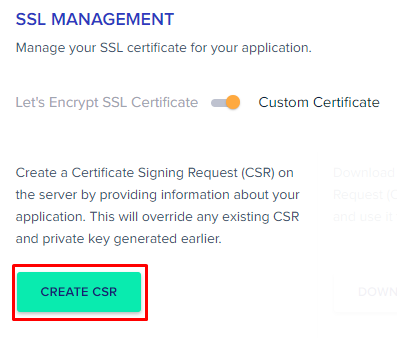
Now to add other SSL certificate, select Custom Certificate. Click on CREATE CSR:
Enter the details and then click on Submit to generate CSR file:
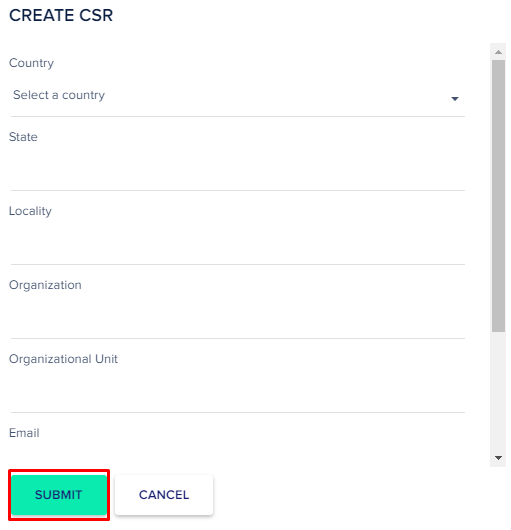
Once it’s done, you will get the option to download CSR file and to install SSL certificate.
First, submit the downloaded CSR file to the SSL provider to get yourdomain.crt (Certificate Code) and yourdomain.ca (Chain File). Then click on INSTALL CERTIFICATE and a popup will appear where you have to enter the Certification Code and CA Chain (provided by SSL provider).
You have learned to install Magento SSL Certificate on shared as well as Managed Magento hosting servers. Now let’s move on to discussing how to enable SSL in Magento.
How to Enable SSL in Magento
Enable Magento SSL
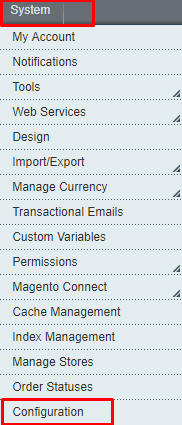
Open the admin panel of your Magento store and then navigate to System → Configuration:
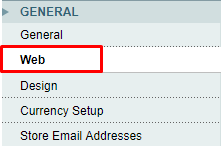
Now, click on Web under General tab:
 Unfold the Secure section. First, update the Base URL field by changing http to https. Then select Yes for Use Secure URLs in Frontend and Use Secure URLs in Admin fields:
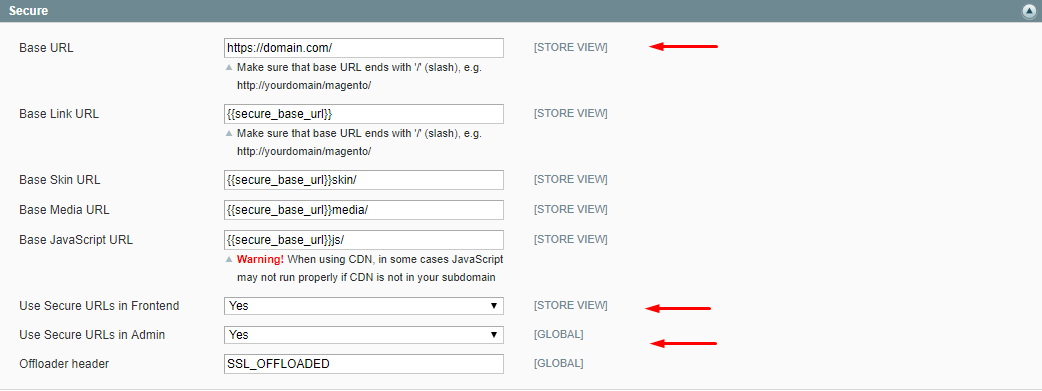
Use Secure URLs on Storefront: By selecting Yes, all of your storefront pages will open with https.
Use Secure URLs in Admin: By selecting Yes, your store admin panel will be open with https.
Now just click on Save Config button:
![]()
Enable Magento 2 SSL
For enabling Magento 2 SSL, the process is same. Let’s explore it!
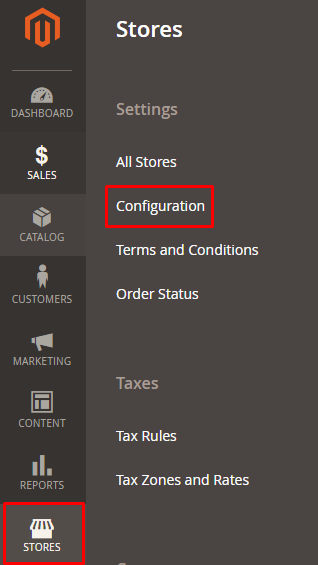
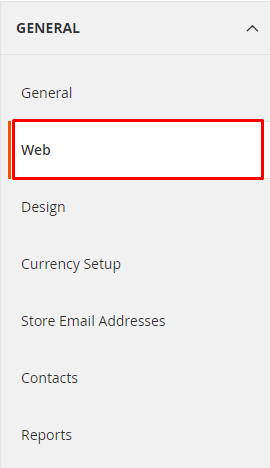
Go to Stores → Configuration from the admin panel of your store:
And click on Web:
Unfold the Base URLs (Secure) section and update the fields in the same way as in Magento 1.x:
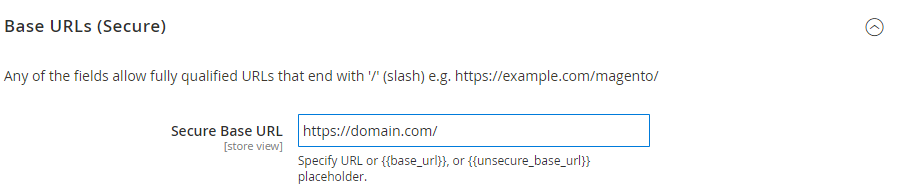
Now select Yes for Use Secure URLs on Storefront and Use Secure URLs in Admin fields:

Lastly, just click on Save Config button:

Final Words
SSL is one of the most useful and important layers to secure your Magento 2 store. Following this simple tutorial, you should now be able to install and enable Magento SSL certificate to redirect your store from http to https.