
It can be troublesome to initiate an online business without having deep technical knowledge. So, all the people out there, who have failed to install PrestaShop properly at first place and those who are just starting out, go through this post carefully.
How to Install PrestaShop?
I assume if you are going to install PrestaShop manually, then you are familiar with FTP, PHP, and MySQL database. Here Templatetoaster offline website builder software showcases a set of instructions you need to follow in order to install PrestaShop.
Follow these steps to Install Prestashop 1.7
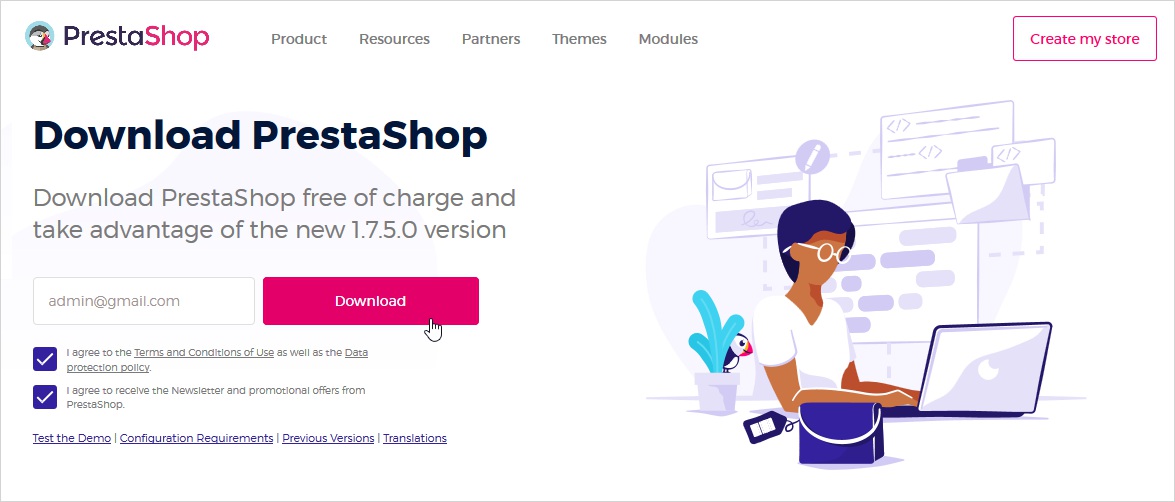
Step 1: Download PrestaShop 1.7
To initiate the installation first go to the official website of PrestaShop and choose the PrestaShop download page. Now check the two given options and then click on the Download option to start the download as shown below.
Step 2: Unzip the Package
After downloading the PrestaShop, extract the Zip file. You will see three folders i.e. index.php, Instal_PrestaShop.html, and the prestashop.zip file. And now you need to extract the prestashop.zip file like displayed below.

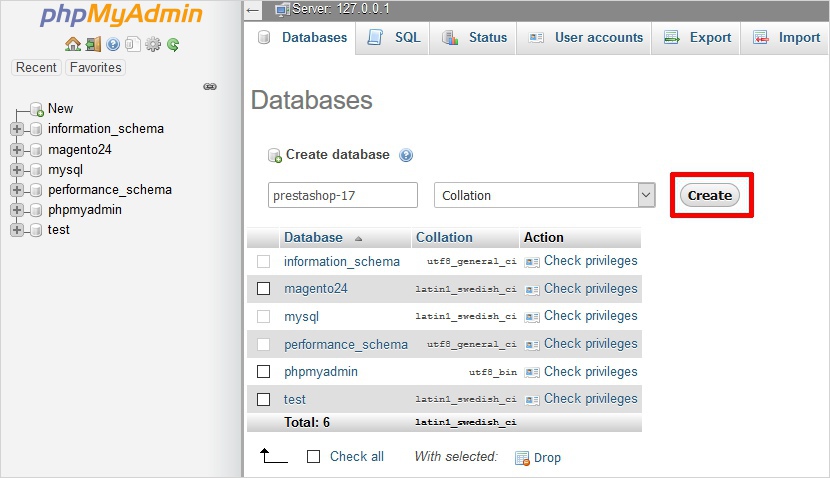
Step 3: Prepare the Database
Now, create a database for your PrestaShop website on the web server. Name it and click on the create button.
Step 4: Run Installation Wizard
-
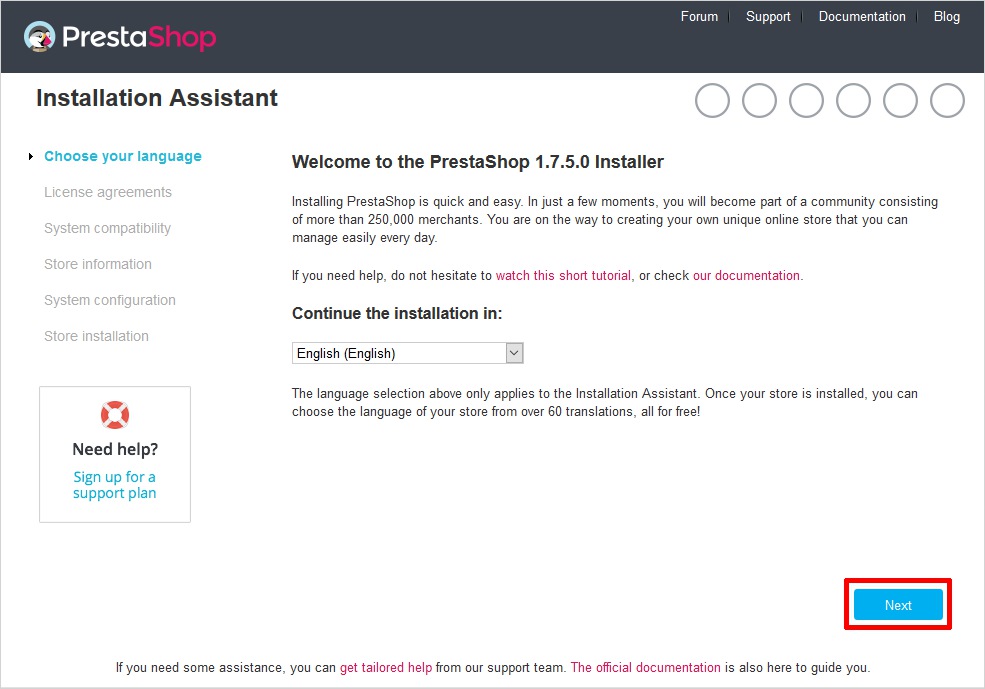
Step 4.1: Select Language
Initiate the installation process. The first screen you will see will look like the one demonstrated below. Likewise, you need to select the language you want to install PrestaShop in. Since PrestaShop powers many languages thus you can choose your preferred language from the drop-down menu and click the Next button to continue.
-
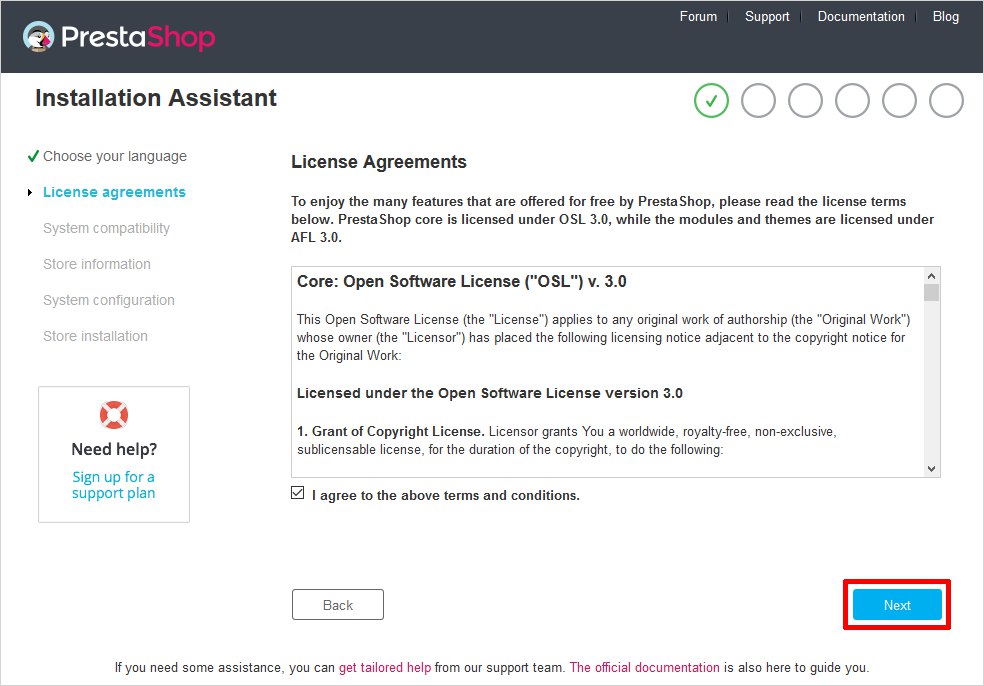
Step 4.2: License Agreement
Now you will see a License Agreement page, check the I agree to terms and conditions and click the Next button.
-
Step 4.3: System Compatibility
This will go over your system to determine if it is compatible to install PrestaShop 1.7 or not. After configuring everything properly it will show a message in green color. Now, click on the Next button. And this would take you to the store information page.
-
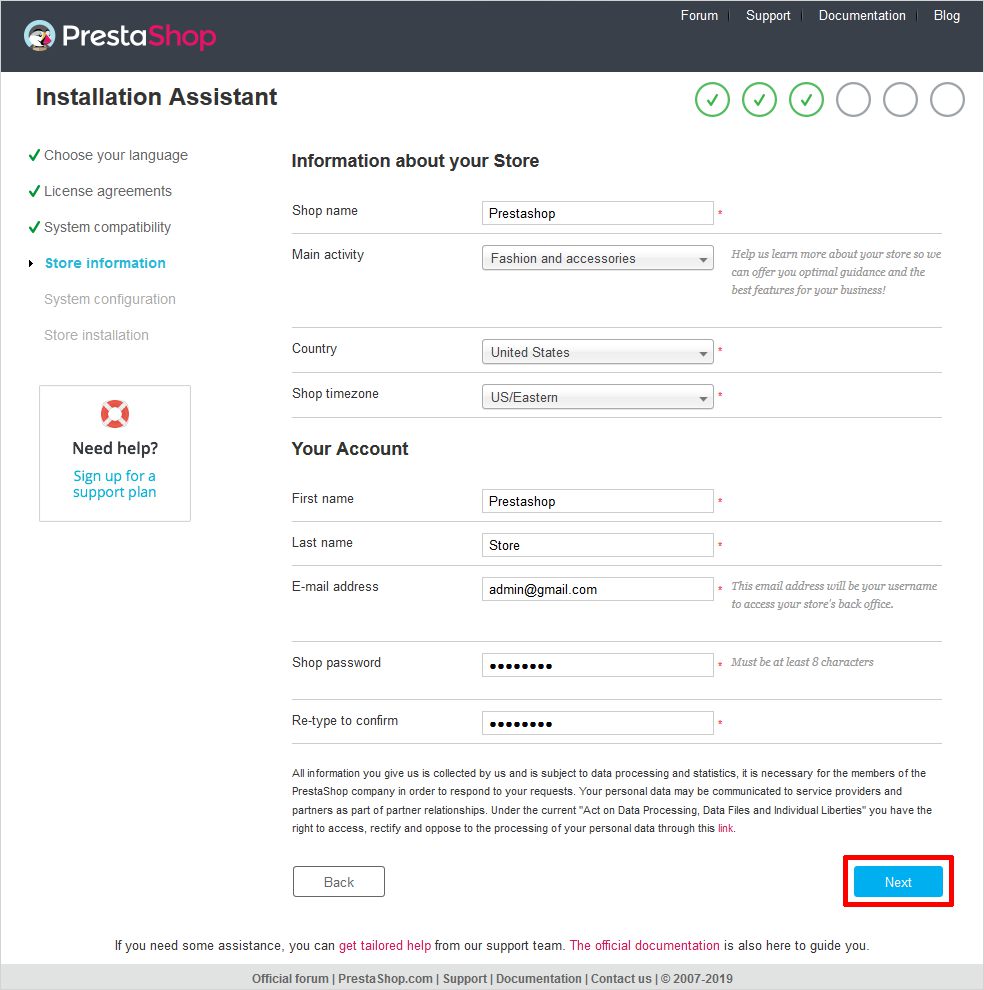
Step 4.4: Store Information Page
Here you have to add information about your store. Along with the information for your admin account. Likewise, fill in the information such as shop name, the main activity of the shop, admin name, email address, and password. After filling up all the information click on the Next button to move ahead.
-
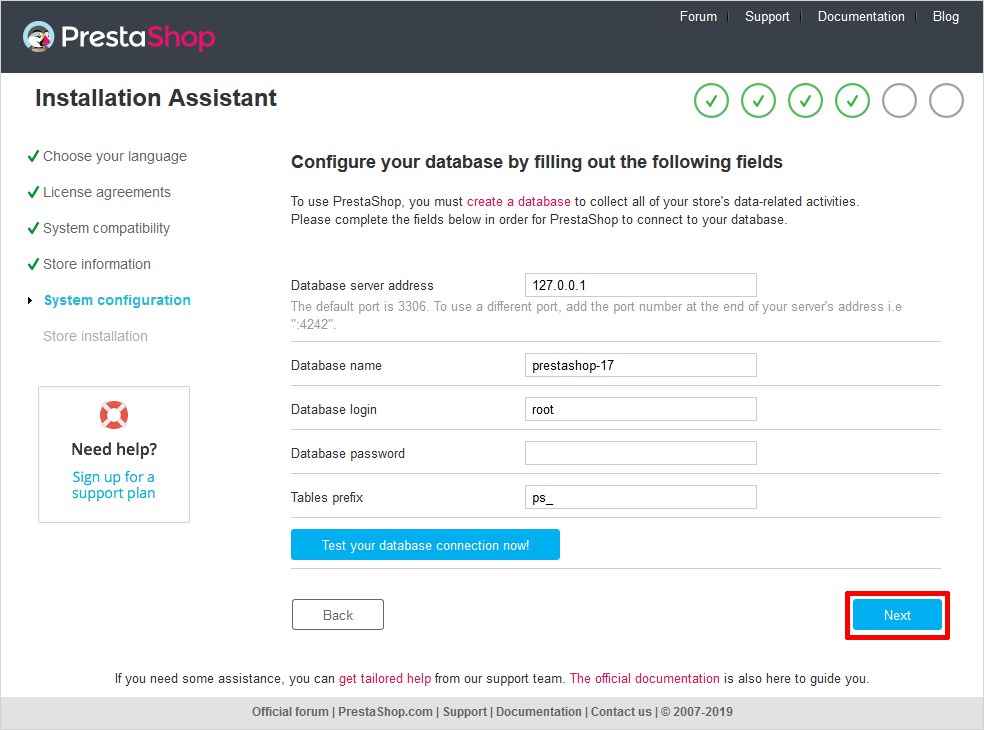
Step 4.5: System Configuration
Now you have to add your database information which you previously have created. And after filling the correct information click on the Next button to complete the installation.
-
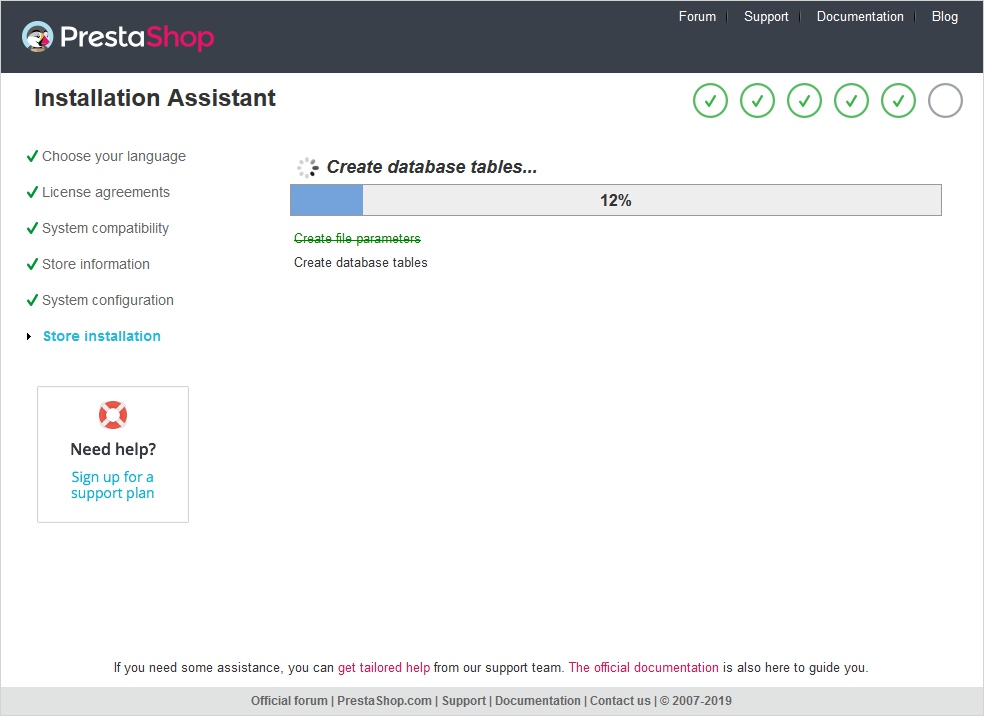
Step 4.6: Store Installation
Now be patient and wait for the process to be 100% complete. Indeed the tough task to do!
-
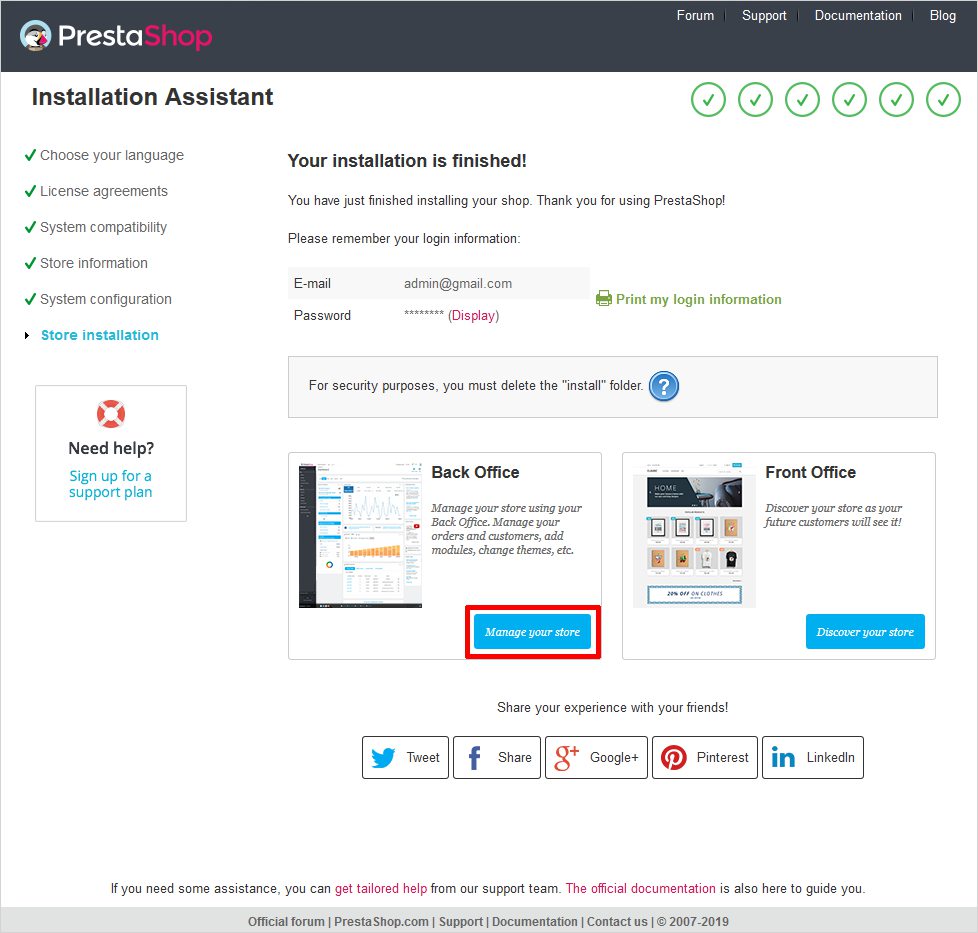
Step 4.7: Installation is Completed
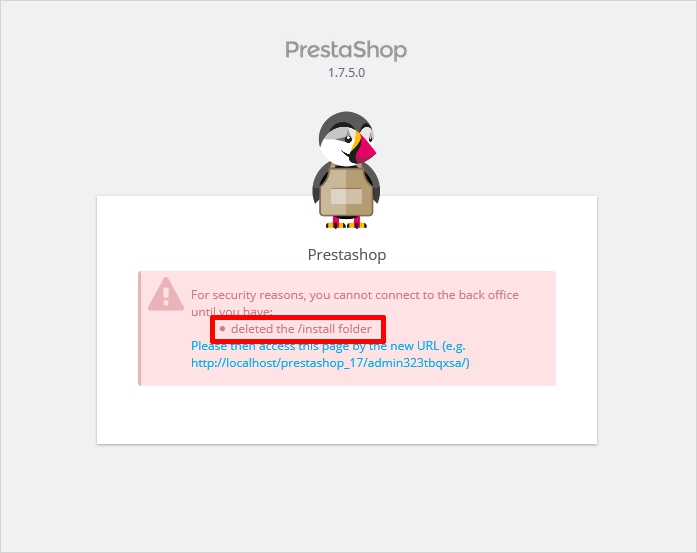
Here you will see a message that the installation for the shop is completed. Now you can choose either one of the two given options i.e. Back Office and Front Office. If you select the Front Office option then you will get to see the front page (or home page) of the website. Whereas, if you choose the Back Office option then you will be redirected to the link which will lead you to the folder that needs to be deleted for further processing.
-
Step 4.8: Remove Install Folder
Make sure you don’t forget to remove the install folder after the process is completed. This is highly recommended for security reasons.
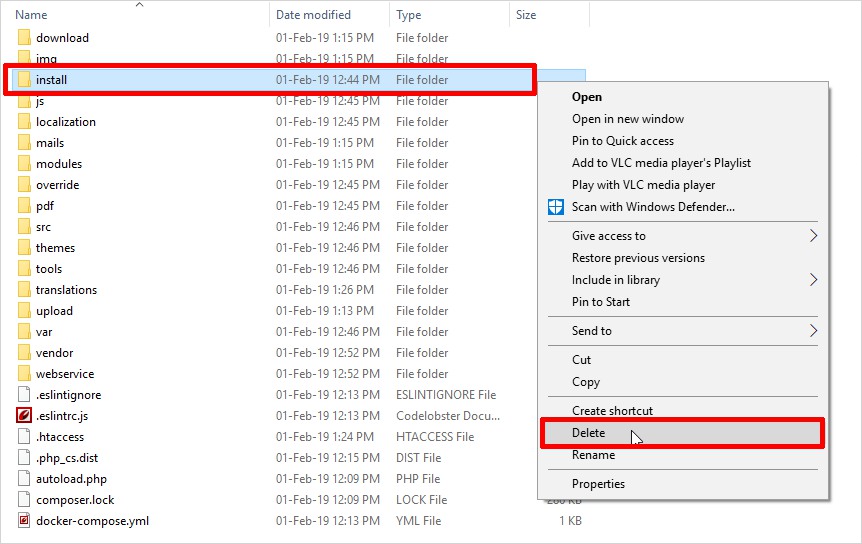
Go to the root → Install folder, right click and delete it.
After deleting the install folder click on the link given on the screen “Please then access this page by the new URL” and then go to the admin panel.
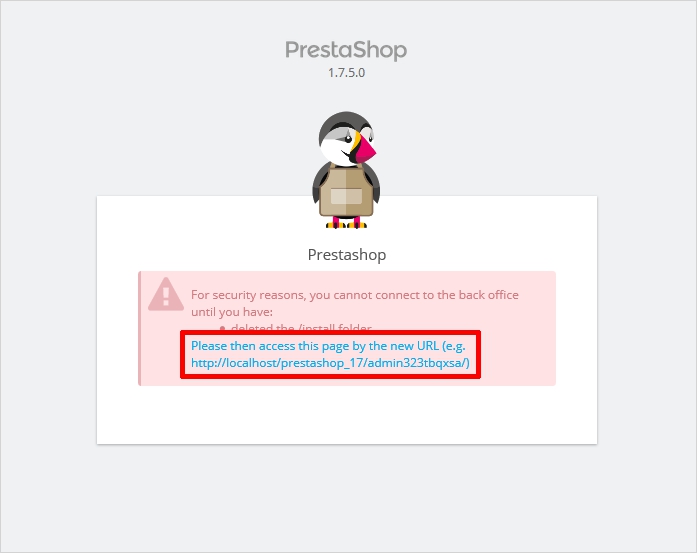
That’s it. Your new PrestaShop application is successfully installed.
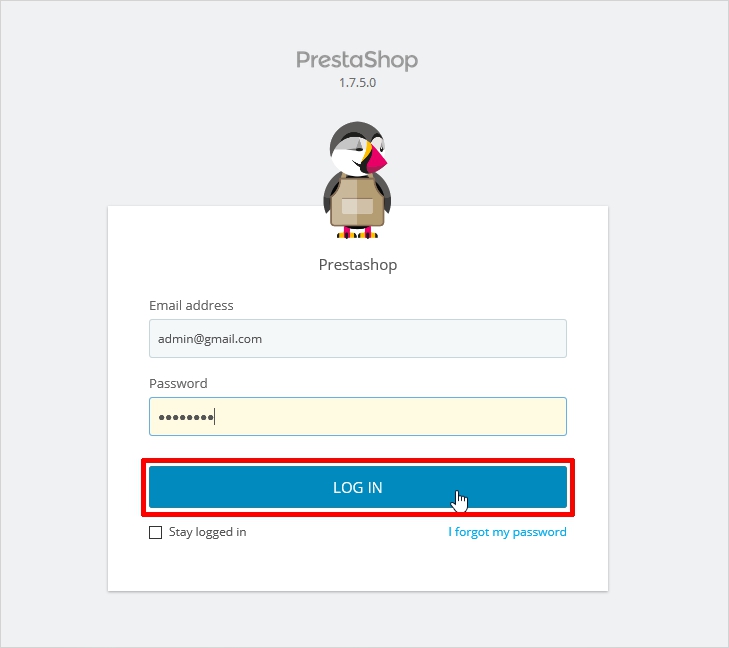
Step 5: Log In Page
After the successful removal of the install folder now login to your PrestaShop shop by filling the correct credentials.
Step 6: PrestaShop Dashboard
Once you entered the right credentials, you will be launched to your PrestaShop dashboard right away. And at the right corner of the dashboard, there’s an option “View my shop” click on it to view the frontend of your website.
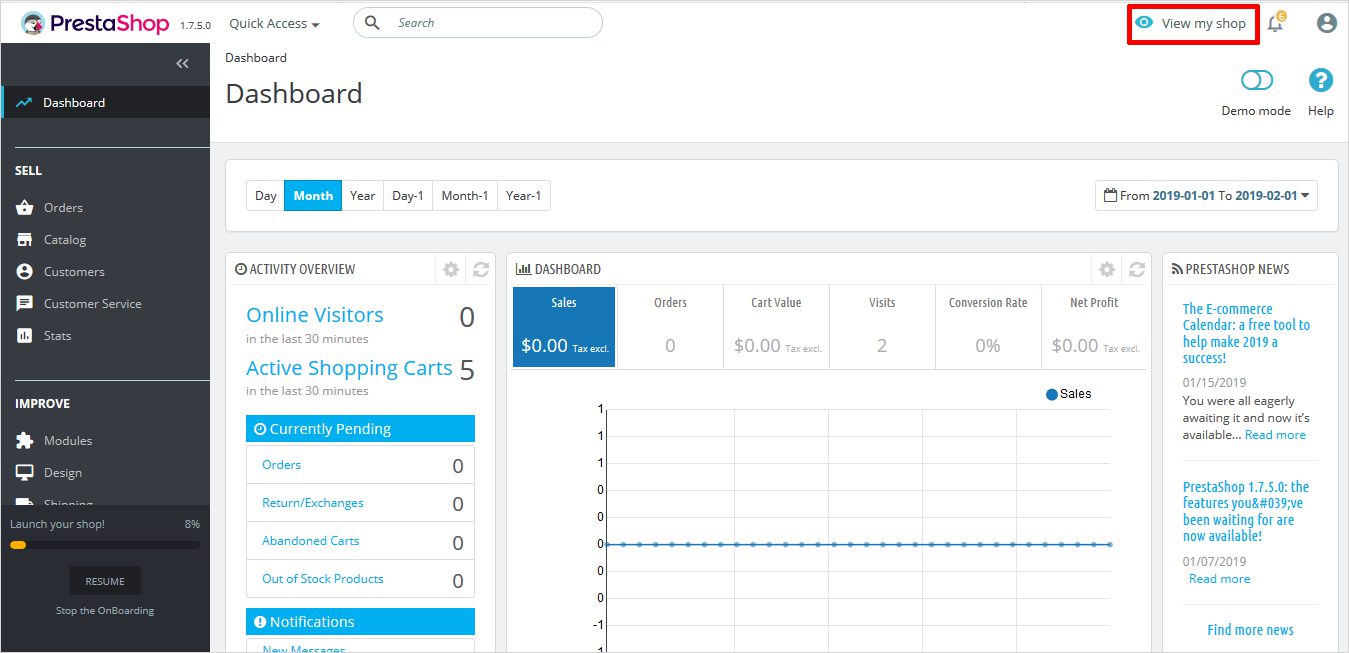
However, it might show you something similar to the one displayed below with a beautiful default theme.
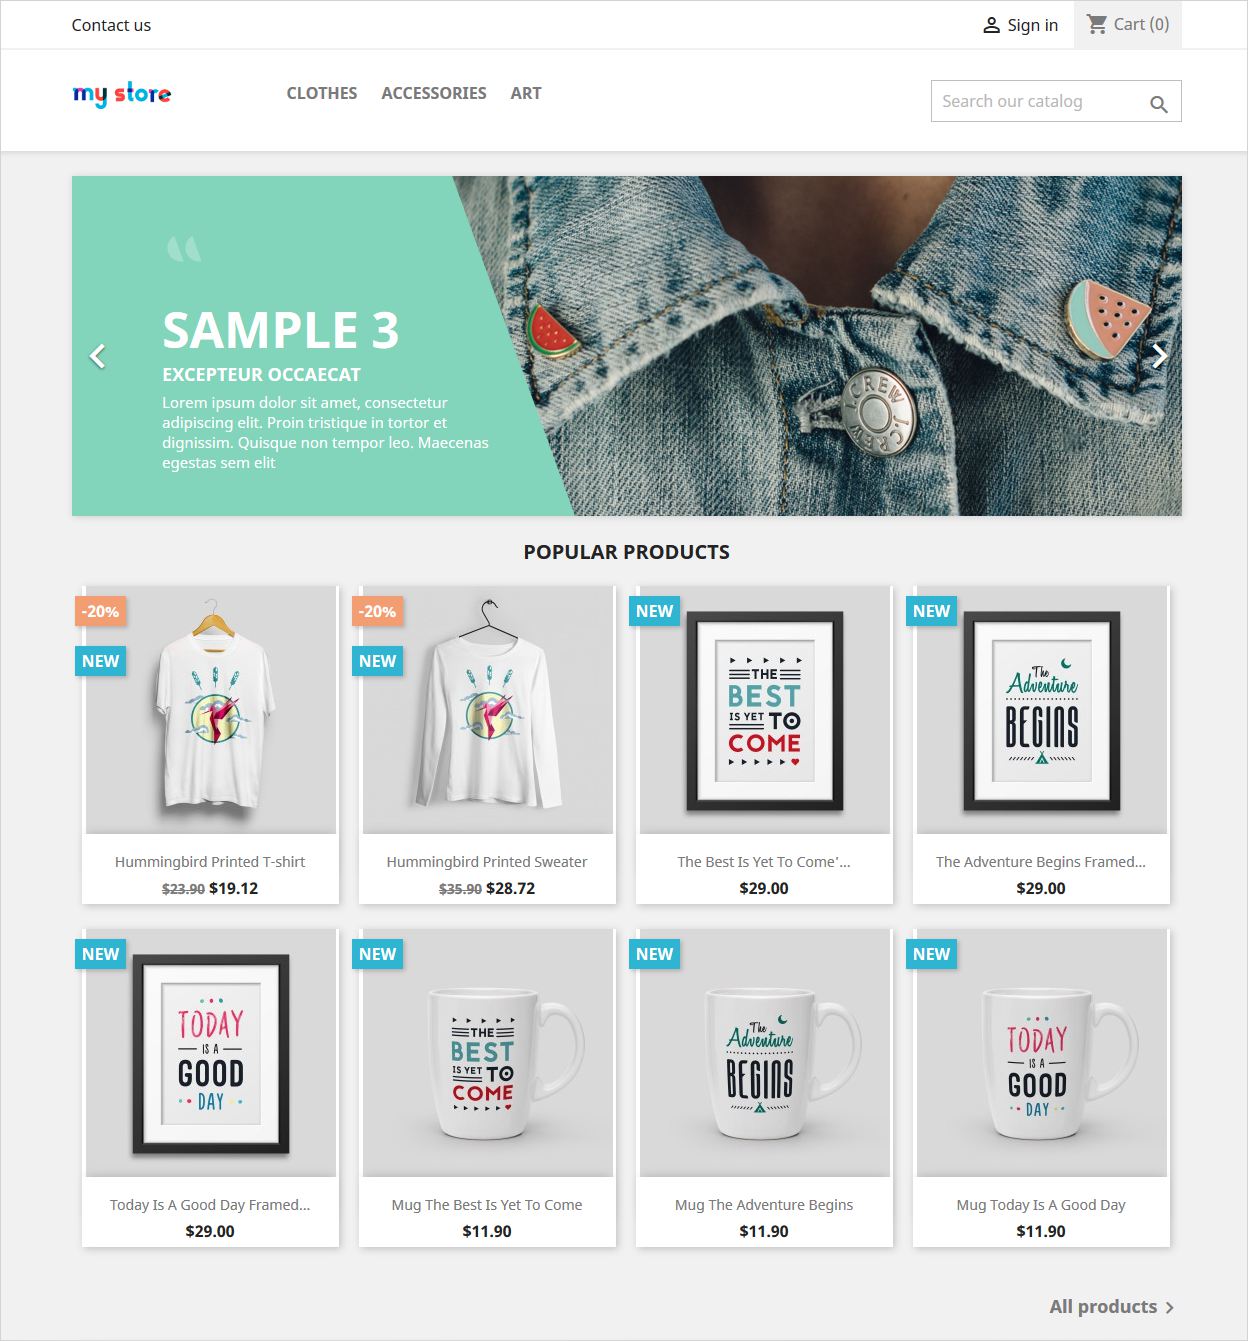
So, start working with it without any further delay.